")
Keeping your KitchenAid microwave clean is important for a healthy kitchen. If you do not clean it, especially the turntable, food pieces can build up, leading to stains and bad smells. This simple guide will show you the best way to clean your microwave turntable, making sure it stays clean and fresh.
Essential Supplies Needed for Cleaning Your Microwave Turntable
Before you start cleaning, it’s important to have all the supplies you need. Having everything in one place will help you do the job easily and quickly.
Here are the items you should gather:
- Dish soap: Choose a gentle dish soap that can cut grease and remove food bits.
- Water: Warm water is good for hand washing and rinsing the turntable.
- Cleaning cloths and sponges: Use soft, non-abrasive cloths or sponges. These will clean the turntable without scratching it.
The Best Cleaning Agents: Natural vs. Chemical Solutions
Choosing the right cleaning products depends on what you like and how dirty things are. You can choose natural solutions or chemical cleaners. Both can clean well.
Before using any cleaning product on your microwave turntable, check your microwave manual. Some materials need specific cleaners.
Here’s a simple guide to help you decide:
- Natural Solutions:
- Vinegar: It breaks down grease and gets rid of bad smells.
- Baking Soda: This is good for freshening up spaces and scrubbing tough stains.
- Lemon Juice: Mixing lemon juice with water makes a nice cleaner and helps with odors.
- Chemical Solutions:
- Commercial Microwave Cleaner: These are made to tackle tough grease and burned-on food. Just make sure the cleaner you pick is safe for your turntable.
Necessary Tools: From Soft Cloths to Scrub Brushes
Choosing the right cleaning products is not enough. You also need the right tools to clean well. Good tools will help you reach tight spots and remove different types of dirt.
Here are some tools that you might use:
- Soft Cloths: Microfiber or soft cotton cloths are great for wiping down the turntable and getting rid of loose bits of dirt.
- Sponges: Use a non-abrasive sponge for normal cleaning and a scrub sponge for tougher stains.
- Soft-Bristled Brush: A soft brush, like an old toothbrush, is useful for cleaning grooves or edges on the turntable.
Make sure the tools you pick are made for cleaning appliances. This will help protect the turntable’s surface.
Step-by-Step Guide to Cleaning the Microwave Turntable
Now that you have all the supplies and cleaning products, here are some steps to clean your microwave turntable well.
By using these easy steps, you can keep your microwave turntable shiny and clean. This will help create a healthier cooking space.
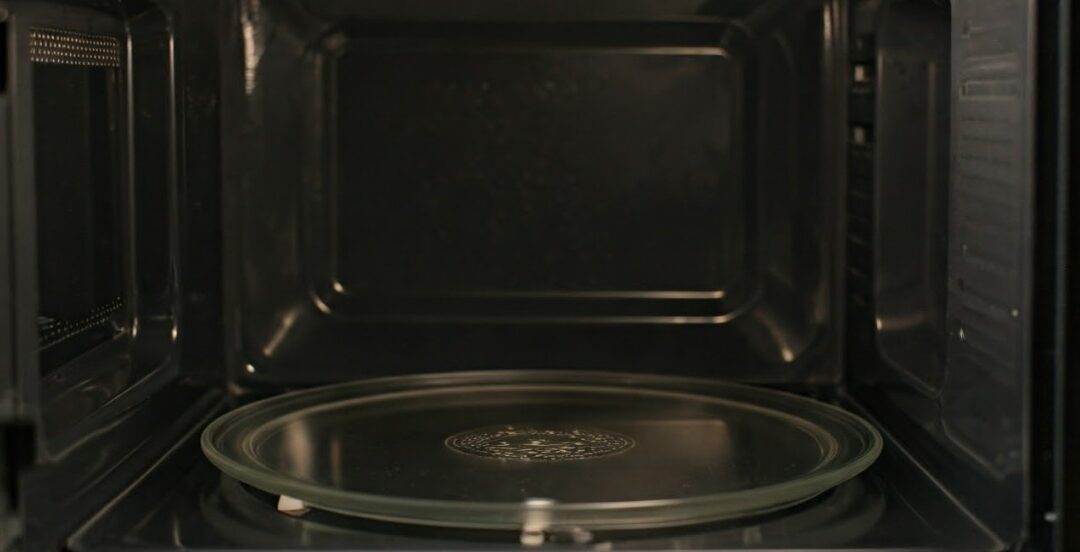
Removing the Turntable Safely
Before you start cleaning, take the turntable out of your microwave. Be gentle with the turntable so it doesn’t get hurt.
First, wait for the turntable to cool down before you take it out. Make sure the microwave is turned off and unplugged for safety. Find the turntable support and carefully lift the turntable off its rotating shaft.
If you have a KitchenAid microwave, check your user manual for specific instructions on how to remove the turntable. Models can be different. Remember to put the turntable on a clean, dry surface to keep it safe from germs.
Washing the Turntable: Dishwasher Safe Tips and Hand Washing
The cleaning method for your turntable depends on its material and whether it is labeled as dishwasher safe.
| Method | Instructions |
| Dishwasher | Check the underside of your turntable for a “dishwasher safe” symbol. If present, place it securely in the dishwasher to ensure it doesn’t move during the cycle. Use a mild detergent and select a normal wash cycle. Once the cycle is complete, allow the turntable to air dry completely before placing it back in the microwave. |
| Hand washing | Fill a sink or basin with warm, soapy water. Submerge the turntable and gently clean it using a soft cloth or sponge. Rinse the turntable thoroughly with clean water, ensuring all soap residue is removed. Dry it completely with a clean towel before placing it back in the microwave. |
Whichever method you choose, ensure that you clean your turntable regularly to prevent the buildup of food particles and bacteria.
Conclusion
Keeping your microwave turntable clean is very important for the hygiene of your kitchen. Learning the best way to clean your microwave turntable keeps it functioning effectively and prolongs its lifespan. Using the right cleaners and tools will help it last longer and work better. Make sure to clean it often to stop food mess and keep germs away.
For professional KitchenAid microwave repairs, trust only KitchenAid Repairs. We guarantee expert service for all your appliance needs. No matter how complex the issue, our skilled technicians can handle it efficiently. Contact us today for top-notch microwave repair services. If you want more insights, read our guide about The Most Common Microwave Issues During New Year Festivities. Enjoy cooking!
Frequently Asked Questions
How often should I clean my microwave turntable?
To keep your microwave clean, you should clean the turntable at least once a week. If you use it a lot, you may need to clean it more often. Doing this will stop grime from building up. It will make cleaning faster and easier each time.
Can I use vinegar to clean my microwave turntable?
Yes, vinegar is a safe and good natural cleaner for your microwave turntable. It removes food bits, cuts through grease, and gets rid of bad smells. Just mix equal parts vinegar and water. Then use this mix to wipe down your turntable.
What should I do if my turntable is not spinning after cleaning?
If your turntable isn’t spinning after you have cleaned it, check to see if it is seated correctly on the rotating shaft. Make sure the support is in place as well. If it still doesn’t work, look at your appliance’s microwave manual for troubleshooting tips. You can also contact the manufacturer for help.
How can I prevent food splatter on the turntable in the future?
To avoid food splatter, put a microwave-safe lid or paper towel over your food. This easy trick helps keep messes in check. It makes cleaning less often and saves you time. This way, your microwave turntable stays clean for a longer period.