")
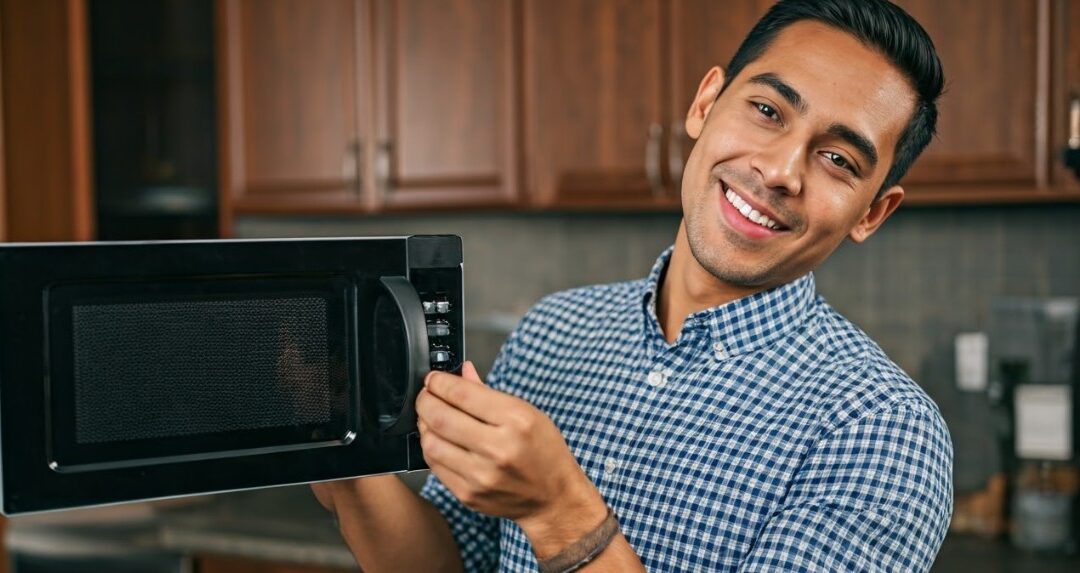
If the door handle of your KitchenAid microwave or other brands is not working, it can be a hassle. This makes it hard to use your appliance correctly. It may look like a tough problem, but changing a broken microwave door handle is usually simple. You can fix it yourself without paying for repairs. This step-by-step guide on how to replace a broken microwave door handle will explain the issue clearly and help you get your appliance working well again.
Understanding Microwave Door Handle Issues
Before starting the replacement process, it is important to know the common problems related to microwave door handles. By understanding these issues, you can help your appliance last longer and avoid problems in the future.
There are different factors that can affect how your microwave door works, from loose door latches to broken springs. Let’s examine some of the most common issues and what causes them.
Identifying Common Problems with Microwave Door Handles
One of the most common problems is a broken door handle. This often happens because of wear and tear or accidental impacts. When the handle breaks, you cannot open the door properly.
Another problem is a faulty door latch. This latch keeps the door closed and prevents leaks. If the latch is broken or misaligned, the door may not close correctly or could open unexpectedly.
Sometimes, the issue is with the parts inside the door handle. These parts, like springs and plastic levers, can wear out and break over time. This will make the door handle not work well.
Why Do Microwave Door Handles Break?
Microwave door handles get a lot of use. They often suffer from rough handling, which can cause them to wear out. Over time, if you keep applying pressure when opening and closing the door, it can weaken the handle, especially if the handle is plastic.
In the kitchen, accidents happen. Dropping utensils on the handle or slamming the door shut can cause damage. This can lead to cracks or even breakage. If you have kids at home, the chances of accidents might be higher.
Also, using too much force to open a stuck door or pulling on a misaligned handle can put extra stress on the handle. These actions can cause it to wear out faster and eventually break.
Preparing to Replace Your Microwave Door Handle
Before you start the replacement, it’s important to get all the tools and materials you need. Most repairs are simple with some preparation. Having everything ready will make the job easier and faster.
It’s also very important to take the right safety steps. When working with an electrical appliance, you must be careful to avoid electrical shock. This will help keep you safe while you make the repairs.
Tools and Materials You Will Need
Having the right tools and materials will make it easy to replace your microwave door handle. Gather these items before you start:
- New door handle: This is the most crucial item! Make sure to choose a handle that fits your microwave model.
- Screwdriver: You will need a screwdriver that works with the screws holding your handle in place. A Phillips-head screwdriver is usually the right choice.
- Replacement screws: If your old screws are damaged or missing, get some new ones from a nearby hardware store.
- Putty knife (optional): This is handy for gently opening panels if you need to.
Having these items ready will help you have a smooth and easy replacement process.
Safety Precautions Before Starting the Repair
Replacing a microwave door handle is generally safe, but you should still take some precautions to stay safe.
First, unplug the microwave from the power outlet. This will help prevent an electrical shock. For extra safety, turn off the circuit breaker for your kitchen outlets.
When you handle the microwave and its parts, make sure your hands are dry. Wet hands can mix poorly with electricity and raise the risk of shock. If you follow these easy safety steps, you can work with confidence and lower the chances of any problems.
Step-by-Step Guide to Replacing a Microwave Door Handle
With your tools ready and safety measures set, you can follow these steps to fix your broken microwave door handle. This guide makes it simple, so even beginners can understand it well.
Remember, patience is important for a successful repair. Take your time on each step and check this guide whenever you need to.
Step 1: Removing the Broken Handle
First, find the screws that hold the broken door handle on the microwave door. These screws are usually found on the inside of the door, under a cover panel.
Use the right screwdriver to carefully loosen and take out the screws. After the screws are out, you can take off the broken handle from the door. If the handle is stuck, gently move it back and forth while pulling it.
If it feels tight, check again to make sure you took out all the screws. After you remove the broken handle, set it aside. Now, you can put on the new handle.
Step 2: Installing the New Handle
Align the new door handle with the holes on the microwave door. Make sure the handle is facing the right way and lays flat against the door’s surface.
Gently put the screws back into the holes. Begin by tightening them by hand to prevent cross-threading.
After all the screws are inserted, use your screwdriver to finish tightening them. Do not use too much force. This could harm the door or the new handle. Now that the new handle is securely attached, your KitchenAid microwave is good to use again!
Contact KitchenAid Repairs for Expert Service
Are you having problems with your KitchenAid microwave or other appliances? Don’t wait to reach out to the experts at KitchenAid Repairs! Our skilled team is ready to help you with all your appliance repair needs. We know how annoying a broken appliance can be. We work hard to offer quick and dependable service. Contact us today, and let us handle your KitchenAid microwave repairs. You’ll be back to enjoying your kitchen in no time!
Conclusion
In conclusion, learning how to replace a broken microwave door handle is a simple task that can be done at home with the right tools and steps. By carefully following the instructions provided, you can efficiently remove the old handle and install a new one without any hassle. Remember to reach out to KitchenAid Repairs for expert service if needed, ensuring your appliances are always in top working condition. For more DIY tips, check out our blog on Fixing Microwave Light Issues After Wildfire Power Surges.
Frequently Asked Questions
Can I replace the door handle on any microwave model?
Most microwave door handles can be replaced. But it is important to check the model number of your appliance. This will help you find a door handle that matches the specifications of your specific KitchenAid microwave.
How long does it take to replace a microwave door handle?
Changing a door handle usually takes about 15 to 30 minutes. The time can change based on the microwave model you have and how much experience you have with DIY projects.
Is it safe to use the microwave if the door handle is broken?
Using a microwave with a broken door handle is not safe. The handle is important because it helps keep the door shut tightly. This stopping any possible radiation from leaking out while the microwave is on.