")
Keeping the air circulation in your refrigerator just right is important for storing food properly. The refrigerator air damper helps with this. It controls the airflow between the fresh food area and the freezer in your KitchenAid refrigerator. If your appliance has cooling problems or too much frost, a broken air damper could be the reason.
Understanding Your KitchenAid Refrigerator Air Damper
The air damper acts like a gate. It controls how much cold air from the freezer goes into the food section. It opens and closes when needed to keep the right temperature in each part.
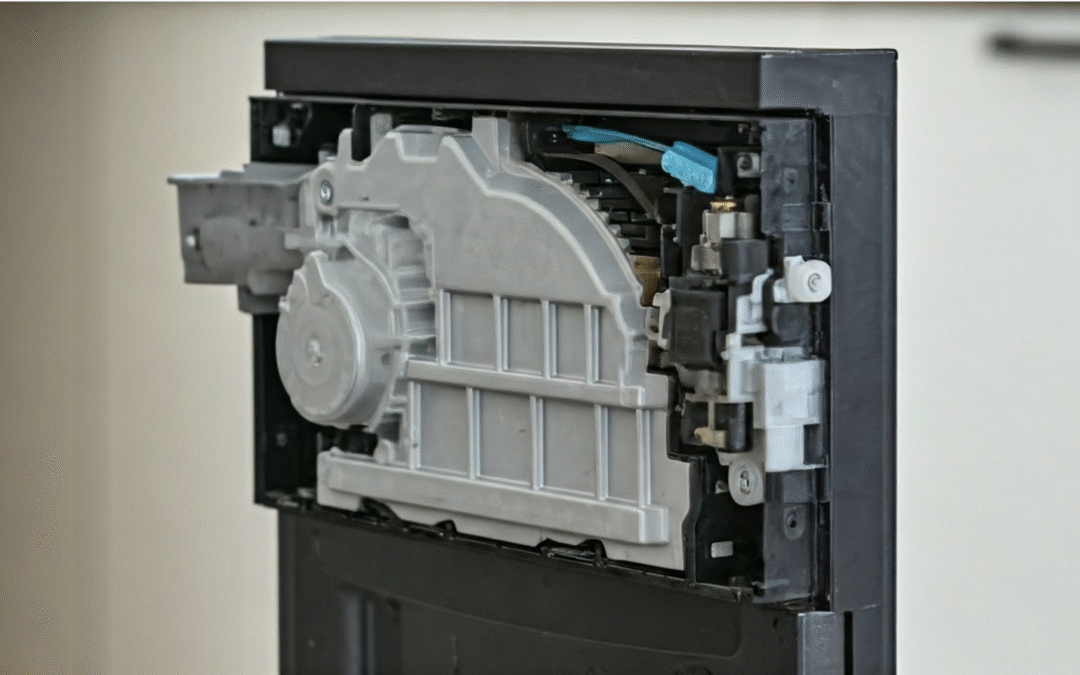
You can usually find it near the evaporator fan motor. This is located behind the back panel of your refrigerator. Even though it may seem small, it is important for keeping your food fresh and your appliance working well.
Importance of the Air Damper in Refrigerator Functioning
The KitchenAid refrigerator works well when the air damper is working correctly. It helps to spread the refrigerator air evenly, keeping the temperatures steady.
If the damper isn’t working, it can upset the cooling system. This might make the freezer too cold while the refrigerator section can’t stay cool enough.
When the air damper has problems, it can affect the freshness of your food. It can also cause your refrigerator to use more energy as it tries to fix the issue.
Identifying When Replacement is Necessary
It’s very important to spot a failing refrigerator air damper quickly. This helps stop further damage and keeps your refrigerator working well for a long time. How can you know if your damper needs help?
A big sign is a clear and steady temperature difference between the freezer and refrigerator sections. If your fruits and vegetables are freezing in the refrigerator or your ice cream is melting in the freezer, the damper might be the problem.
Weird noises coming from your refrigerator, like clicking or snapping sounds near the damper control area, can also mean there’s an issue. If you notice any of these signs, you should think about replacing the refrigerator air damper.
Preparing for Replacement
Before you start the replacement process, it’s important to prepare well. You need to collect the right tools and follow important safety steps. Doing this will help make the replacement easier and safer.
Always remember to unplug your appliance before you begin any repair work. This helps avoid the risk of electrical shock.
Tools and Materials Needed
Having the correct tools makes part replacement easier. Before starting, gather these items:
- New fridge air damper that fits your KitchenAid model
- Screwdriver set for screws
- Pliers to disconnect wires and grab small items
- Putty knife (optional) to pry glued parts
- Shop towels or rags to clean spills and wipe dust
Prepare these tools for a smooth replacement process.
Safety Precautions and Preparatory Steps
Safety is crucial when using appliances.
- Firstly, unplug your KitchenAid fridge. This prevents electric shock.
- Find the damper; it’s near the fan motor, usually behind the back panel inside.
- Refer to your manual for specifics.
These steps ensure a safe workspace for damper replacement.
Step-by-Step Guide to Replacing the Air Damper
Now that you are ready, let’s follow this easy guide to change the air damper in your KitchenAid refrigerator. These instructions will help you through each step.
If you feel unsure about doing this, please reach out to a professional appliance repair technician for help.
Step 1: Accessing the Damper Control Assembly
The first step is to get to the damper control assembly. Start by unplugging your KitchenAid refrigerator. Next, find the access panel that covers the damper. Depending on your refrigerator model, this panel may be at the back of the fridge section or inside the freezer.
Check your appliance’s user manual for clear instructions on how to take off this panel. You will likely need to remove a few screws using your screwdriver.
After you take off the panel, look for the refrigerator air damper. This is usually a small, round part attached to a control assembly.
Step 2: Removing the Old Damper
With the damper control assembly visible, carefully unplug the electrical connector attached to it. This will disconnect the damper from the appliance’s electrical system.
Next, you need to remove the old damper. This may require you to take out screws or clips that hold it in place. Depending on your appliance’s design, use your screwdriver or pliers to loosen and remove these parts.
Gently pull the old damper away from the refrigerator wall. Make sure to remember how it is positioned and the location of any connected parts. This will help you when you install the new damper.
Step 3: Installing the New Damper
Place the new air damper in the same way as the old one, making sure all attached parts are lined up correctly. Fasten the new damper by putting back the screws, clips, or other fasteners you took off earlier.
When the new damper is fixed, reconnect the electrical connector you unplugged before. Make sure it fits tightly and securely.
After the electrical connection is secured, check the position of the damper and its components again. This will help make sure everything is aligned and connected properly.
Step 4: Testing the New Installation
Before you celebrate a successful repair, you need to check if the new air damper is working right. First, plug your KitchenAid refrigerator back into the outlet and turn it on.
Let your refrigerator run for a few hours. This helps stabilize the temperature. After that, check the temperatures in both the freezer and refrigerator sections. They should be stable and within the recommended range.
You should see a clear improvement in how the temperature is controlled. This means the refrigerator air damper replacement was successful. Your KitchenAid refrigerator should now work better, keeping your food fresh and your energy costs low.
Contact KitchenAid Repairs for Reliable Service!
Replacing the air damper in your KitchenAid refrigerator can be a DIY project that many can manage. However, we know that some repairs need skilled professionals. If you face any trouble or decide to let the experts handle it, contact us at KitchenAid Repairs. Our skilled technicians are ready to help with all your appliance repair needs. We focus on quality and customer satisfaction. We promise fast and reliable service to bring your appliances back to their best working condition.
Conclusion
In conclusion, taking care of your KitchenAid refrigerator’s air damper is very important. Knowing proper KitchenAid refrigerator air damper replacement can help you avoid breakdowns. Remember to follow the safety tips and steps in this guide to make the replacement easy. If you face any problems or want help, contact KitchenAid Repairs for dependable service. Keep your appliance well-maintained for lasting performance. For more tips, check out our blog on Why Is Your Fridge Not Defrosting Properly.
Frequently Asked Questions
What is the average lifespan of a KitchenAid refrigerator damper?
The lifespan of a refrigerator air damper in KitchenAid appliances can change based on how often you use it and the environment it’s in. On average, you can expect it to last between 5 and 10 years.
Are there specific model considerations when purchasing a replacement damper?
It’s important to buy a new damper made just for your KitchenAid refrigerator model. You can check your appliance’s user manual or contact KitchenAid directly to find the right part.
What are some common issues after replacing the air damper?
If problems keep happening after you replace the damper, check that the new damper is installed correctly and that the electrical connection is tight. If the issue still does not go away, it is a good idea to get professional help to find and fix any hidden issues.